Roland Alpha Juno 1 and 2 Keyboard ReplacementA few years ago, I picked up a Roland Alpha Juno 1 at a pawn shop for a great price. (OK, it's not really an Alpha Juno 1, it's an HS-10, which is technically a Juno 1 with a different front panel). The synth was in good functional order, but the keys looked pretty lousy. For one, the previous owner didn't do much to clean the keyboard and all of the white keys had crust on the front bottom edge of the keys.  Further, one of the keys was broken and glued back together. All of the white keys had a yellow-brownish cast presumably from too many gigs in a smokey bar. This picture doesn't really show the discoloration too well, but you'll notice the difference in a minute. 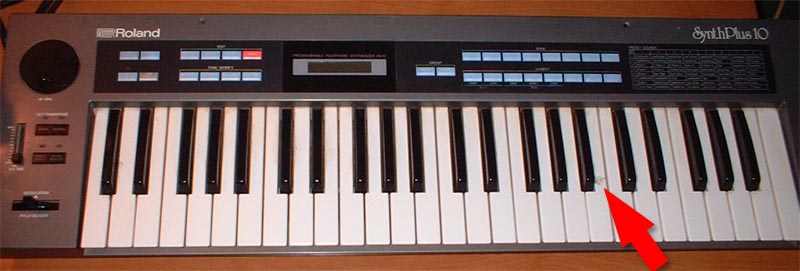 > >None of these problems were deal-breakers for me (the synth worked afterall), but I wanted to restore the synth to some of its former glory. I hopped on some synth forums and found someone to sell me a new set of keys. Step 1 - PreparationYou'll need a few tools to pop open your Juno 1.
Step 2Place the two books on a big tabletop, desk, or work bench and lay the Juno on top of the books face down. The books are meant to elevate the keyboard so it doesn't rest on its joystick. On the bottom of the synth remove the "indent" screws (6), the "back" screws (2), and the "bottom" screws (5). 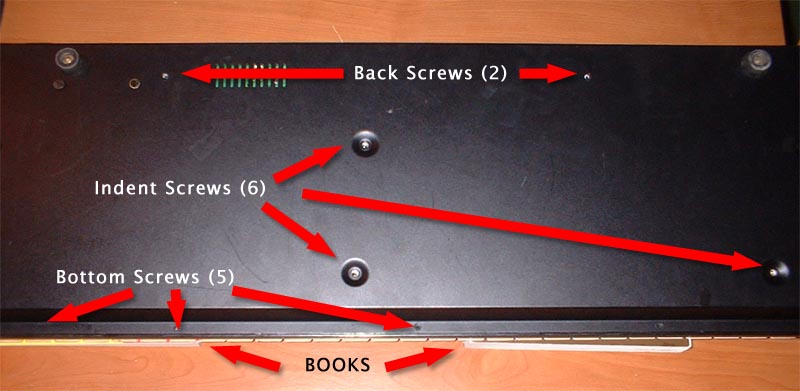 > >Step 3Flip the synth back on its feet. On the rear of the synth (where it says ROLAND in big letters), remove the four screws. Unlike some other Rolands, the Juno 1 top is NOT hinged. 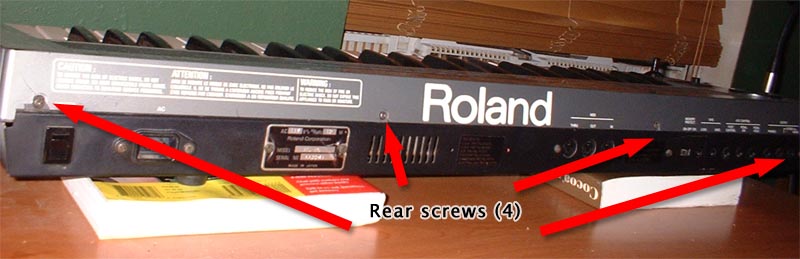 > >Step 4Carefully open the case, pulling the top away from the bottom. Lay the top of the synth down on the table. 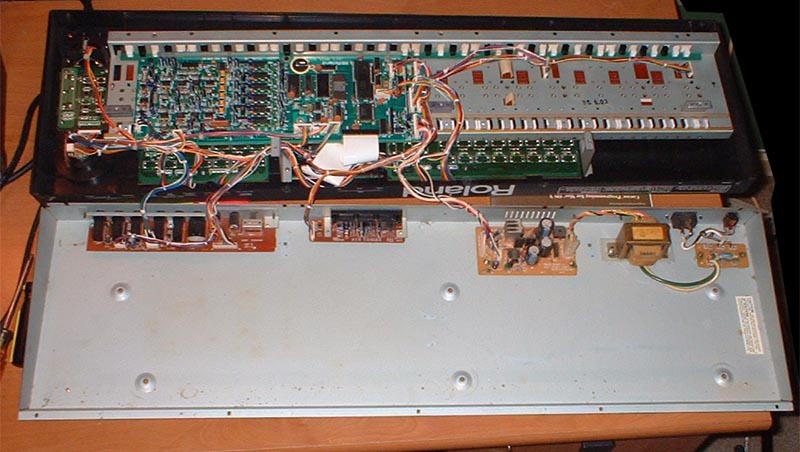 > >Step 5Remove the two screws that connect the keybed to the chassis. One is on the left end of keybed. 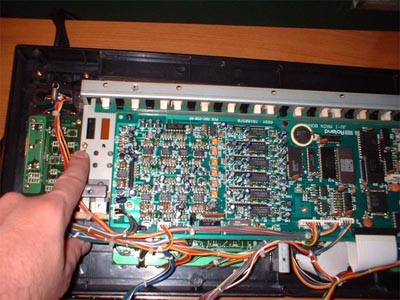 > >The second screw is on the right end of keybed. 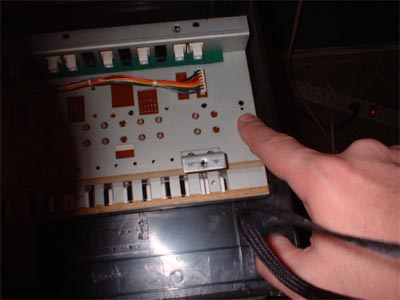 > >Step 6Attached to the keybed is a circuit board. This holds the brains of the Juno 1, so be very careful with it. You need to disconnect five connectors from this circuit board. They are labeled CN14, CN13, CN12, CN11, and CN10. 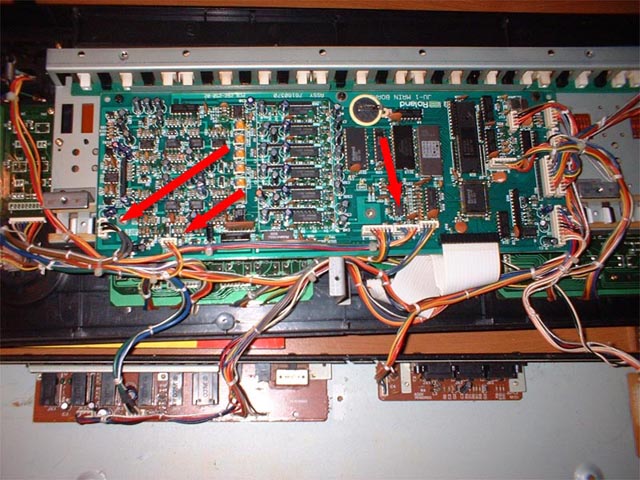 > >Next, make a snip with the diagonal cutters. Cut the single tie wrap that joins multiple wire bundles on the right side of the circuit board. 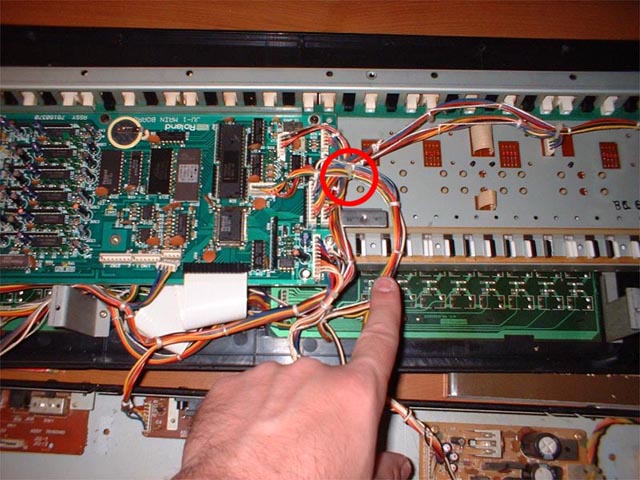 > >Be careful not to cut or damage any of the wiring when you do this. 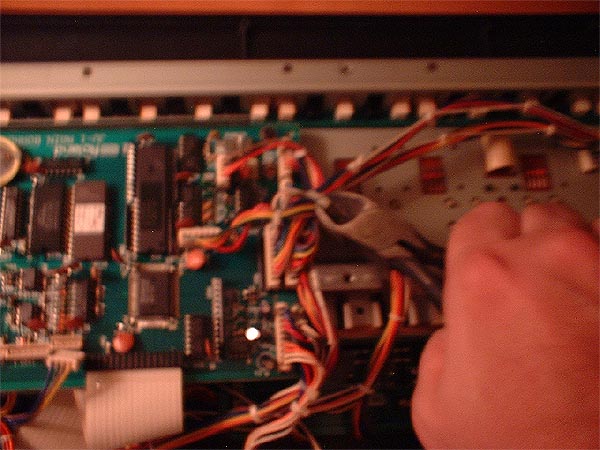 > >Step 7Now carefully pull out the keybed from the synth chassis (pay attention to the joystick wire harness). 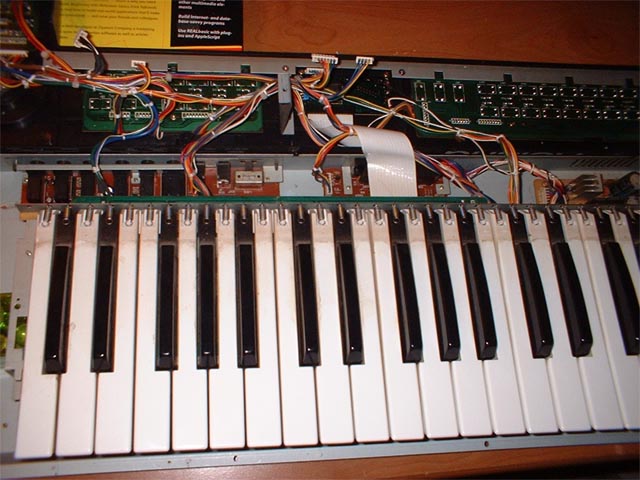 > >Step 8Next, remove the circuit board from the back of the keyboard by removing 6 screws. Beneath the circuit board is a long plastic strip. Remove it carefully. It has a sticky backing that can be reused on reassembly. 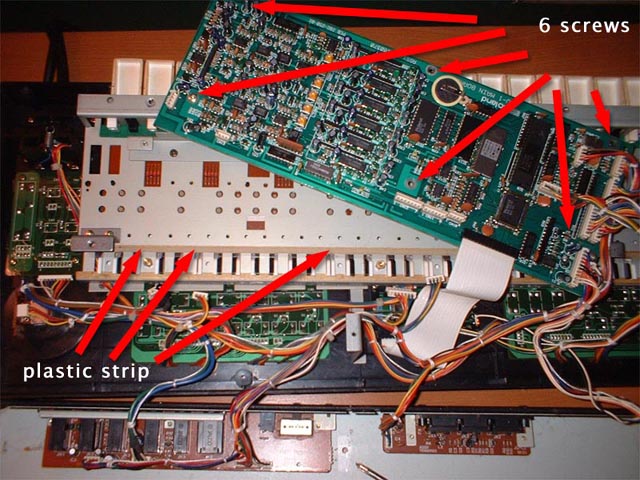 > >Step 9Now carefully flip the keyboard back over and remove all of the springs from the keys. I kept my white key springs separate from the black key springs (on some synths it matters... not sure about the Juno 1). 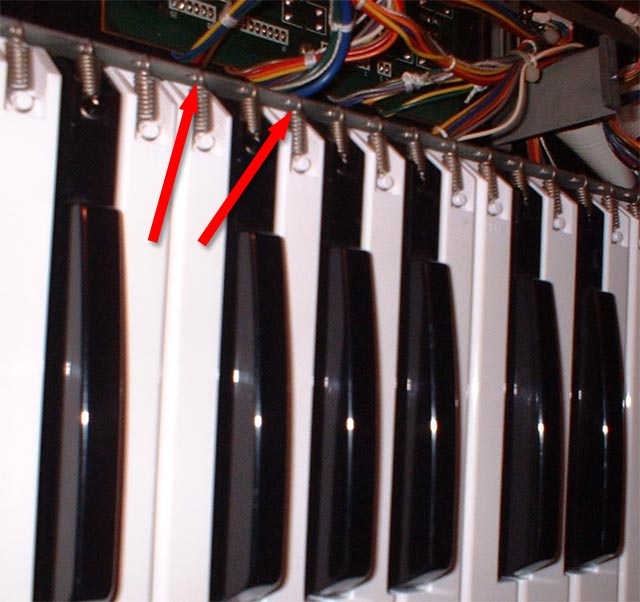 > >Step 10It's finally time to remove the keys! Pull each key out, starting with the white keys first. Then, the black keys. Note the filthy scum at the top of these old keys. 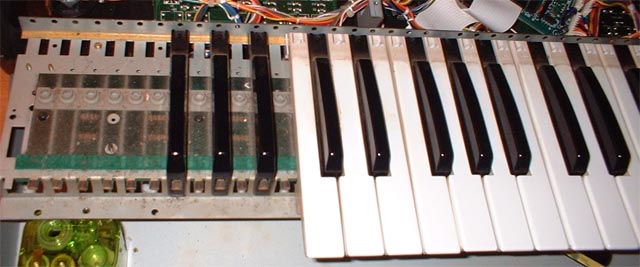 > >Here's what it looks like without any keys remaining. 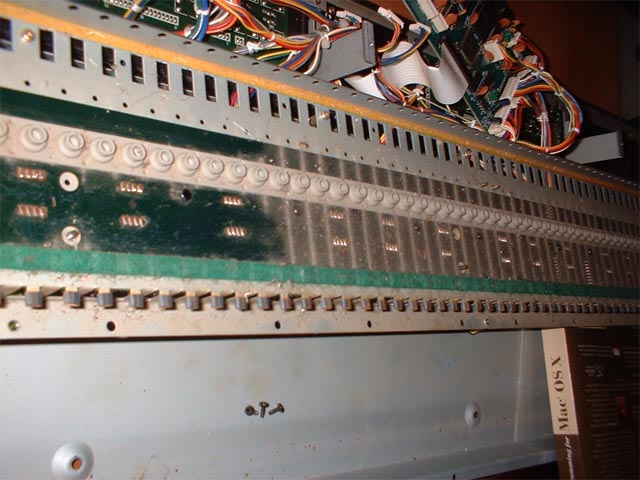 > >There was a lot of dust and crud under the keys, so I wiped it clean using a damp cloth. 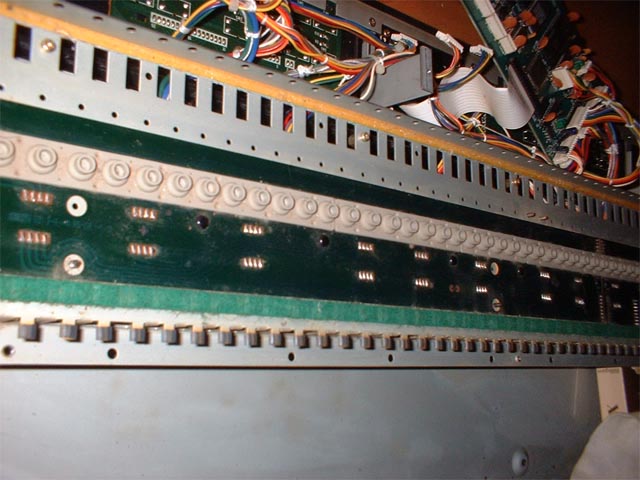 > >MIDPOINTThis is the midpoint of the project. Go get yourself a drink and take a deep breath. The rest of the steps are what you just did, but in reverse. Step 11Clean the existing keys or get out the new set (what I did). Reinstall each of the keys. Do all of the black keys first, then the white keys. Make sure the bottom of the key goes into the proper hole on the bottom of the keybed and that the top of the key goes into the proper slots. 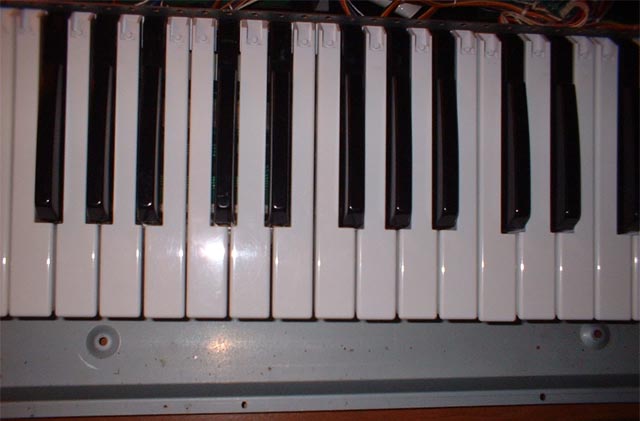 > >Step 12Reattach all of the key springs by putting the closed end on the key and stretching the open end to hook it onto the steel keybed chassis. 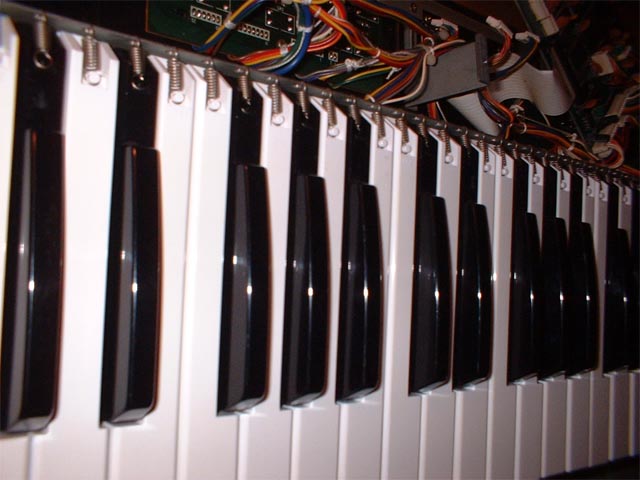 > >Step 13Put the synth back together, following steps 1-8 above, but in reverse. (step 8, step 7, etc...) Step 14: TestingOnce you've put the synth back together, it's time to test it. Power up the Juno. If it does not power up or if anything sparks, flashes, burns, or smells, IMMEDIATELY turn off the power and go back and double-check all of your steps. Make MusicThe final result of my key replacement: 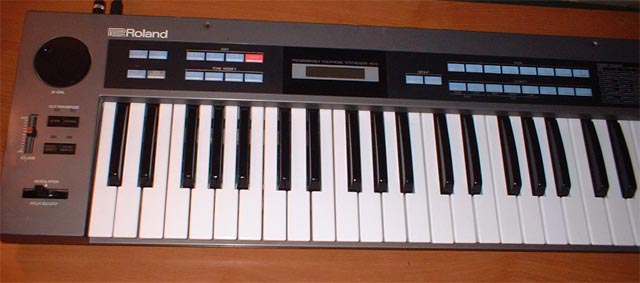 > >No more cracked key and the Juno has nice white choppers again.  > >
© 30 AUG 2007 - E. Tejkowski |